
How to program your first DApp using Truffle, React.js, and Solidity
create your first DApp using Truffle, React.js, and Solidity


Okwuosah Paschal
Hello everyone, today we are going to build a simple Dapp that updates a variable count in the smart contract when a user clicks on the increment/decrement count button on the reactjs frontend.
Project Set up
First thing first, we have to go through the installation process together. If you don't have truffle installed on your computer, Run this code below in your command prompt/terminal in order to get truffle installed on your computer.
npm install -g truffle
Add Sudo in front of it if you are on MAC or Linux.
So, What is Truffle?
Truffle is a world-class development environment, testing framework, and asset pipeline for blockchains using the Ethereum Virtual Machine (EVM), aiming to make life as a developer easier.
Now we have installed and know what truffle is, Let's start building the project by creating a folder on our computer. You can name this folder whatever you want, for me I'm going to name it Counter. Open this folder you just created in your preferred code editor. I'm using Visual studio code. Once you have opened this project in your code editor, run the code below in your terminal to set up a Truffle/Reactjs project boilerplate.
truffle unbox react
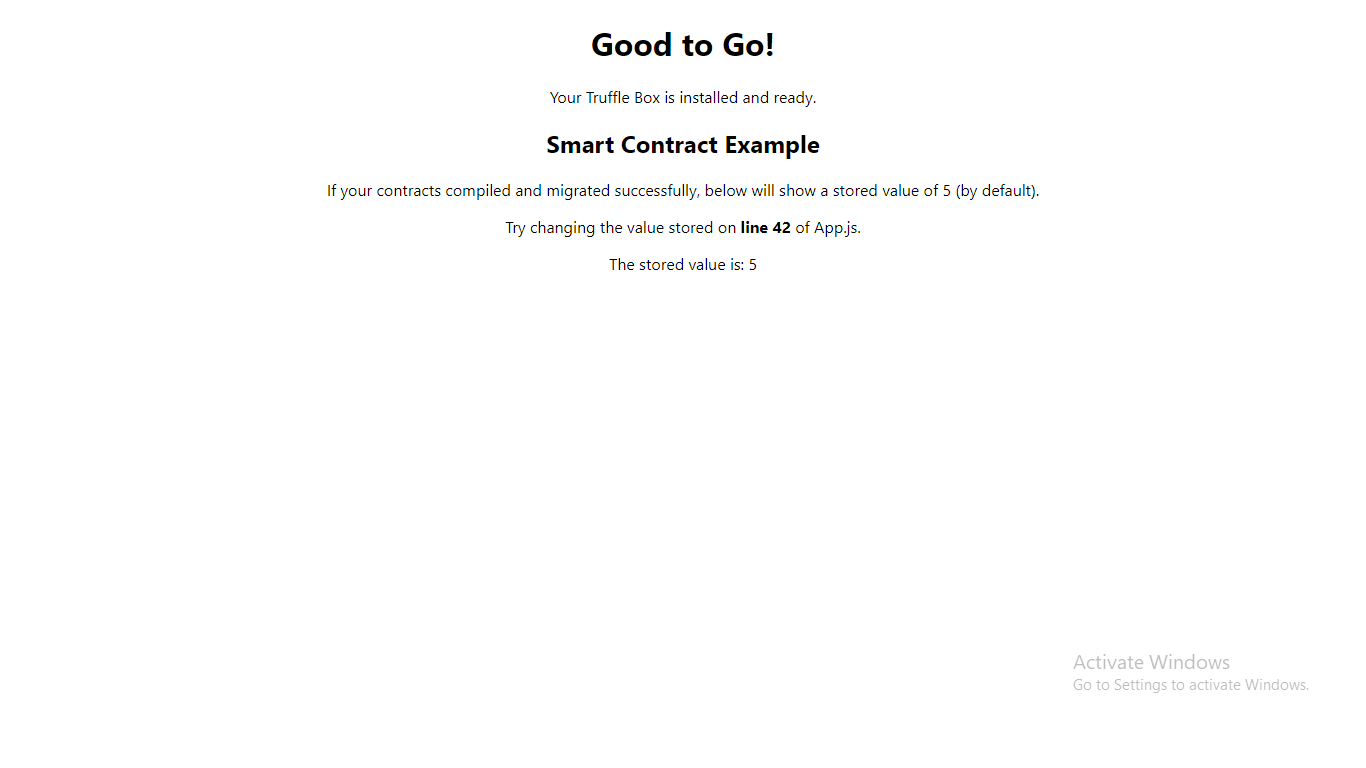
Wait for it to finish downloading react/truffle packages, and you will have a project set up like this.
Congrats, you have finished the installation process. Now let's start programming the project.
Programming the project
Run truffle development and then migrate on your terminal to migrate the smart contracts ABI into the SRC folder in the client folder. Excellent, now open another terminal and cd into the client folder and run npm start to start the react server at Localhost:3000.
Make sure your metamask is connected to a local network, else your react app won't connect to metamask.
Now go to the contract folder, and create a new file called Counter.sol. Open the file you just created and then create your Counter smart contract like the below code example.
// SPDX-License-Identifier: MIT
pragma solidity >=0.4.21 <8.10.0;
contract Counter {
uint count = 0;
function IncrementCount() public{
count += 1;
}
function DecrementCount() public {
count -= 1;
}
function ViewCount() public view returns (uint) {
return count;
}
}
Create a migration file called 3_counter_migrate.js in the migrations folder, open this 3_counter_migrate.js file you just created, and then create a truffle migration for the counter.sol smart contract inside of it like this.
var CounterStorage = artifacts.require("./Counter.sol");
module.exports = function(deployer) {
deployer.deploy(CounterStorage);
};
Run migrate again in your truffle development terminal to migrate the counter smart contract and 3_counter_migrate.js file you just created into the client's SRC contracts folder. A Counter.json file will be created in the client's SRC contracts folder after the migration process has finished.
Now open the App.js file in the client's Src folder and modifier the code inside it to look like this.
import React, { Component } from "react";
import CounterContract from "./contracts/Counter.json";
import getWeb3 from "./getWeb3";
import "./App.css";
class App extends Component {
state = {loaded:false, count: 0, accounts: null, contract: null };
componentDidMount = async () => {
try {
// Get network provider and web3 instance.
this.web3 = await getWeb3();
// Use web3 to get the user's accounts.
this.accounts = await this.web3.eth.getAccounts();
// Get the contract instance.
this.networkId = await this.web3.eth.net.getId();
this.counter = new this.web3.eth.Contract(
CounterContract.abi, CounterContract.networks[this.networkId] && CounterContract.networks[this.networkId].address
);
// Set web3, accounts, and contract to the state, and then proceed with an
// example of interacting with the contract's methods.
this.setState({ loaded:true });
} catch (error) {
// Catch any errors for any of the above operations.
alert(
`Failed to load web3, accounts, or contract. Check console for details.`,
);
console.error(error);
}
};
runExample = async () => {
// Get the value from the contract to prove it worked.
const response = await this.counter.methods.ViewCount().call();
// Update state with the result.
this.setState({count: response})
};
handleIncrease = async() => {
await this.counter.methods.IncrementCount().send({ from: this.accounts[0] })
await this.runExample()
}
handleReduce = async() => {
await this.counter.methods.DecrementCount().send({ from: this.accounts[0] })
await this.runExample()
}
render() {
if (!this.state.loaded) {
return <div>Loading Count...</div>;
}
return (
<div className="App">
<h1>Counts</h1>
<h2>{this.state.count}</h2>
<button onClick={this.handleIncrease}>Increment count</button><button onClick={this.handleReduce}>decrement count</button>
</div>
);
}
}
export default App;
Save the code, and view it on your browser

You can increment/decrement the count value by clicking on the increment/decrement buttons respectively.
Confirm the transaction and count value will increment/decrement depending on the button you clicked.

I hope you learned a lot from this tutorial. And don't forget to leave a like and a comment.
you will find the source code for this project here
Upvote
Okwuosah Paschal
A zealous full stack blockchain developer. Working for a better future.

Related Articles